Vmware安装Ubuntu18.04-22.04
目录
Vmware安装Ubuntu 18.04 - 22.04
下载镜像:
https://cn.ubuntu.com/download/server/step1#downloads
前面的配置略过:可以参考如下文章:https://blog.csdn.net/m0_70885101/article/details/137694608
修改Ubuntu镜像源
复制原来镜像源
# 备份文件
cp /etc/apt/sources.list /etc/apt/sources.backup.list
先查询自己系统的版本号:
lsb_release -a结果:
root@k8s-master1:~# lsb_release -a
No LSB modules are available.
Distributor ID: Ubuntu
Description:    Ubuntu 22.04.4 LTS
Release:        22.04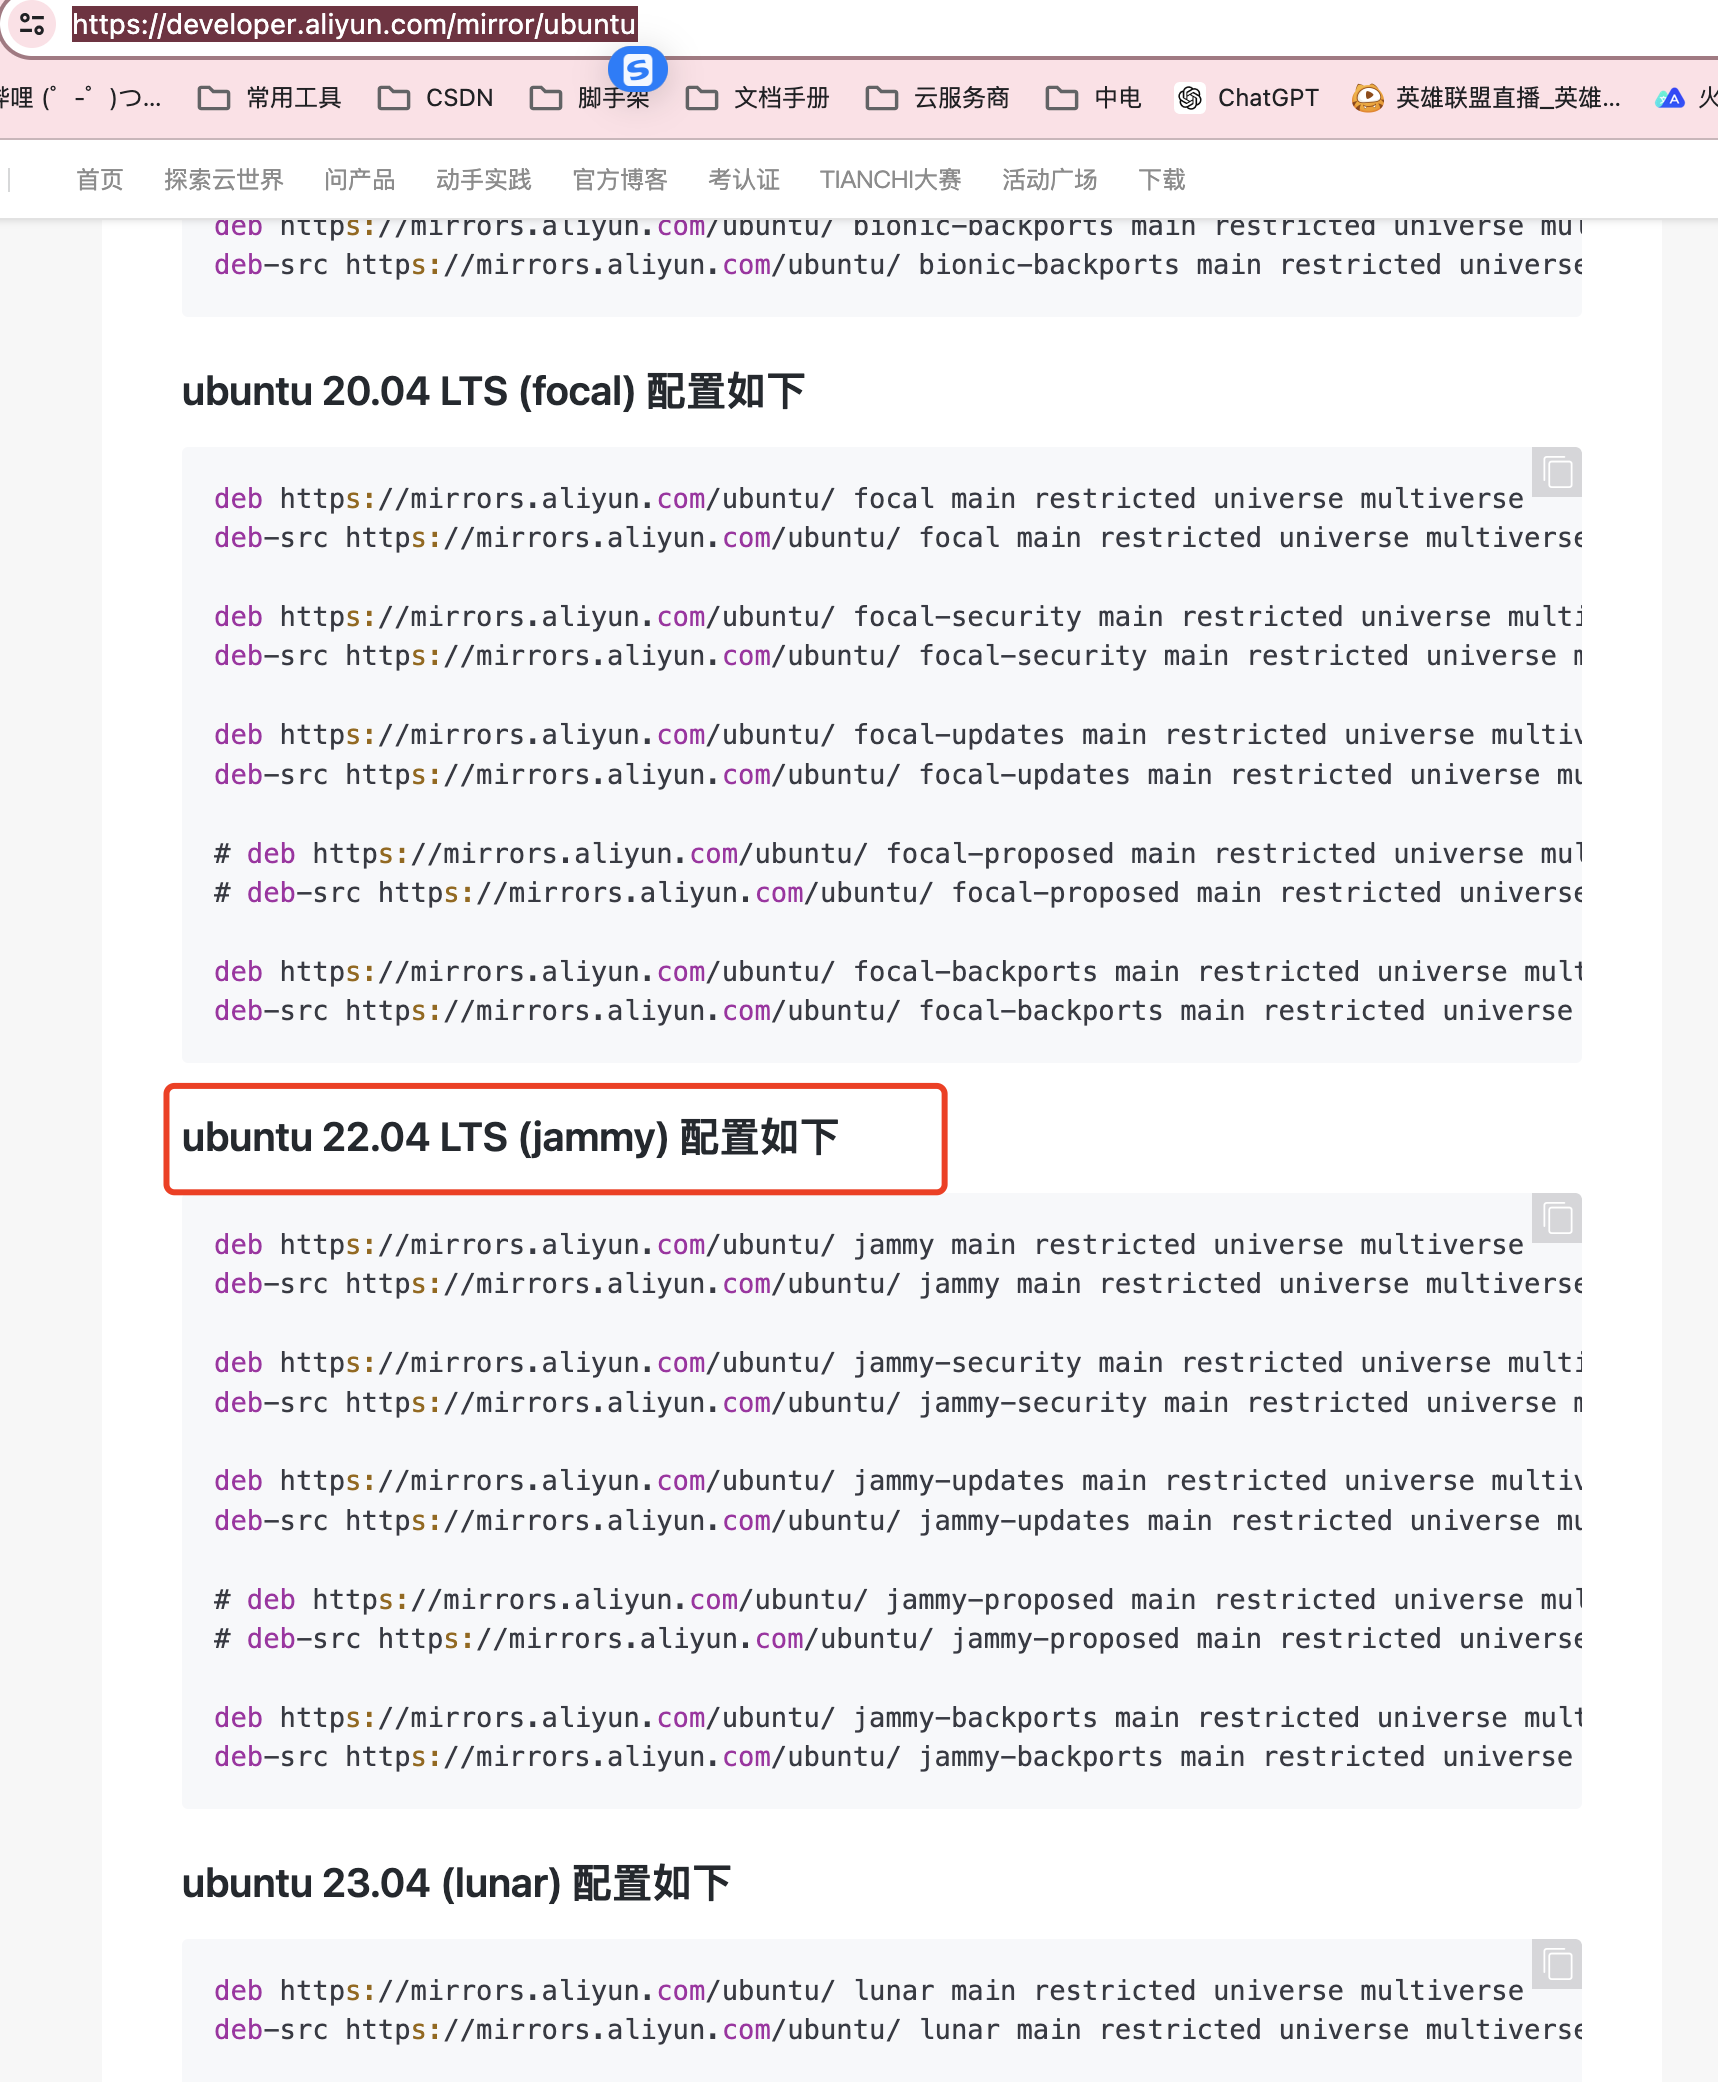
Codename: jammy 在下面的地址中找到对应的镜像源地址:https://developer.aliyun.com/mirror/ubuntu
注释掉/删除原来的镜像源地址
> /etc/apt/sources.list
vim /etc/apt/sources.list
deb https://mirrors.aliyun.com/ubuntu/ jammy main restricted universe multiverse
deb-src https://mirrors.aliyun.com/ubuntu/ jammy main restricted universe multiverse
deb https://mirrors.aliyun.com/ubuntu/ jammy-security main restricted universe multiverse
deb-src https://mirrors.aliyun.com/ubuntu/ jammy-security main restricted universe multiverse
deb https://mirrors.aliyun.com/ubuntu/ jammy-updates main restricted universe multiverse
deb-src https://mirrors.aliyun.com/ubuntu/ jammy-updates main restricted universe multiverse
# deb https://mirrors.aliyun.com/ubuntu/ jammy-proposed main restricted universe multiverse
# deb-src https://mirrors.aliyun.com/ubuntu/ jammy-proposed main restricted universe multiverse
deb https://mirrors.aliyun.com/ubuntu/ jammy-backports main restricted universe multiverse
deb-src https://mirrors.aliyun.com/ubuntu/ jammy-backports main restricted universe multiverse更新:
apt update
apt upgrade
配置清华源地址:https://mirrors.tuna.tsinghua.edu.cn/help/ubuntu/
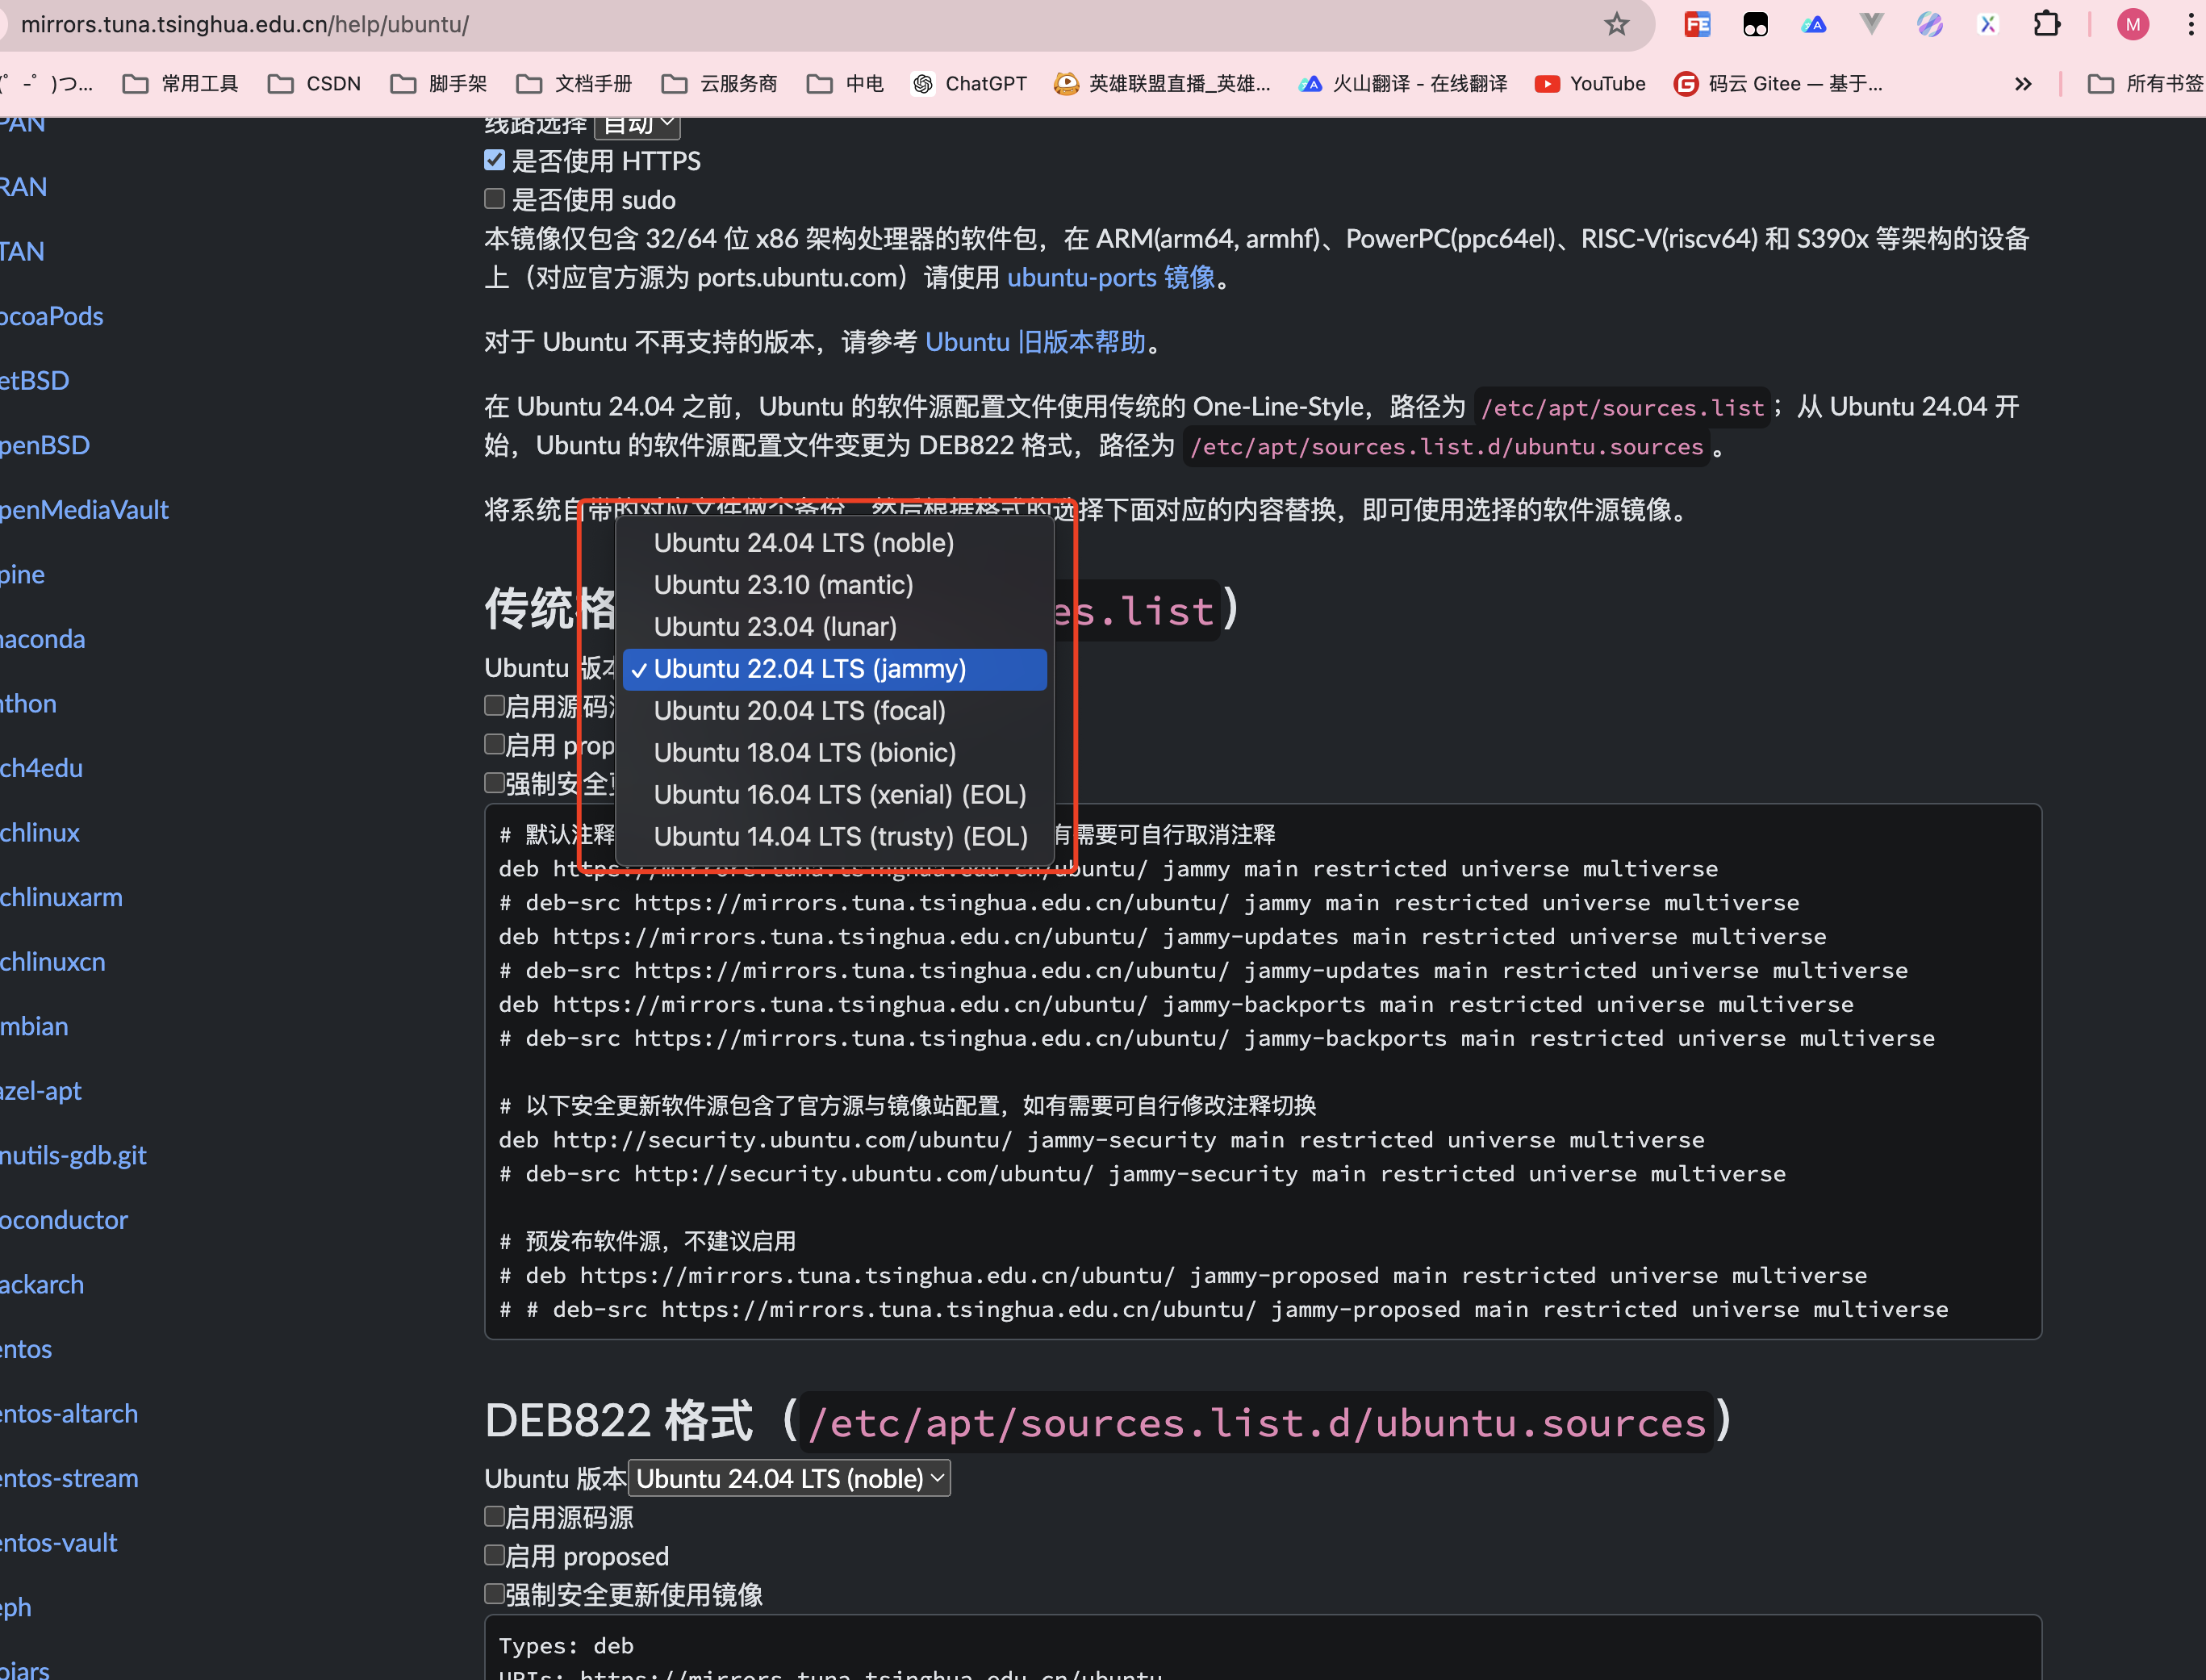
# 默认注释了源码镜像以提高 apt update 速度,如有需要可自行取消注释
deb https://mirrors.tuna.tsinghua.edu.cn/ubuntu/ jammy main restricted universe multiverse
# deb-src https://mirrors.tuna.tsinghua.edu.cn/ubuntu/ jammy main restricted universe multiverse
deb https://mirrors.tuna.tsinghua.edu.cn/ubuntu/ jammy-updates main restricted universe multiverse
# deb-src https://mirrors.tuna.tsinghua.edu.cn/ubuntu/ jammy-updates main restricted universe multiverse
deb https://mirrors.tuna.tsinghua.edu.cn/ubuntu/ jammy-backports main restricted universe multiverse
# deb-src https://mirrors.tuna.tsinghua.edu.cn/ubuntu/ jammy-backports main restricted universe multiverse

# 以下安全更新软件源包含了官方源与镜像站配置,如有需要可自行修改注释切换
deb http://security.ubuntu.com/ubuntu/ jammy-security main restricted universe multiverse
# deb-src http://security.ubuntu.com/ubuntu/ jammy-security main restricted universe multiverse

# 预发布软件源,不建议启用
# deb https://mirrors.tuna.tsinghua.edu.cn/ubuntu/ jammy-proposed main restricted universe multiverse
# # deb-src https://mirrors.tuna.tsinghua.edu.cn/ubuntu/ jammy-proposed main restricted universe multiverse
1. 修改主机名
hostnamectl set-hostname docker-database

# 配置hosts
cat >> /etc/hosts << EOF
192.168.0.130 docker-database
EOF
2. 修改IP
- 编辑 /etc/netplan/50-cloud-init.yaml 配置文件
network:
	ethernets:
		ens33:
			addresses: [192.168.0.130/24]
			gateway4: 192.168.0.1
			nameservers:
				addresses: [192.168.0.1]
version: 2- 使用命令 ==netplan apply== 让配置生效
1.修改root可远程连接:
sudo passwd root
# 登录用户的密码的密码
# 输入root的密码
vi /etc/ssh/sshd_config
# 在第32行输入
#PermitRootLogin prohibit-password
PermitRootLogin yes
# 重启ssh服务
service ssh restart
2. 设置时区
dpkg-reconfigure tzdata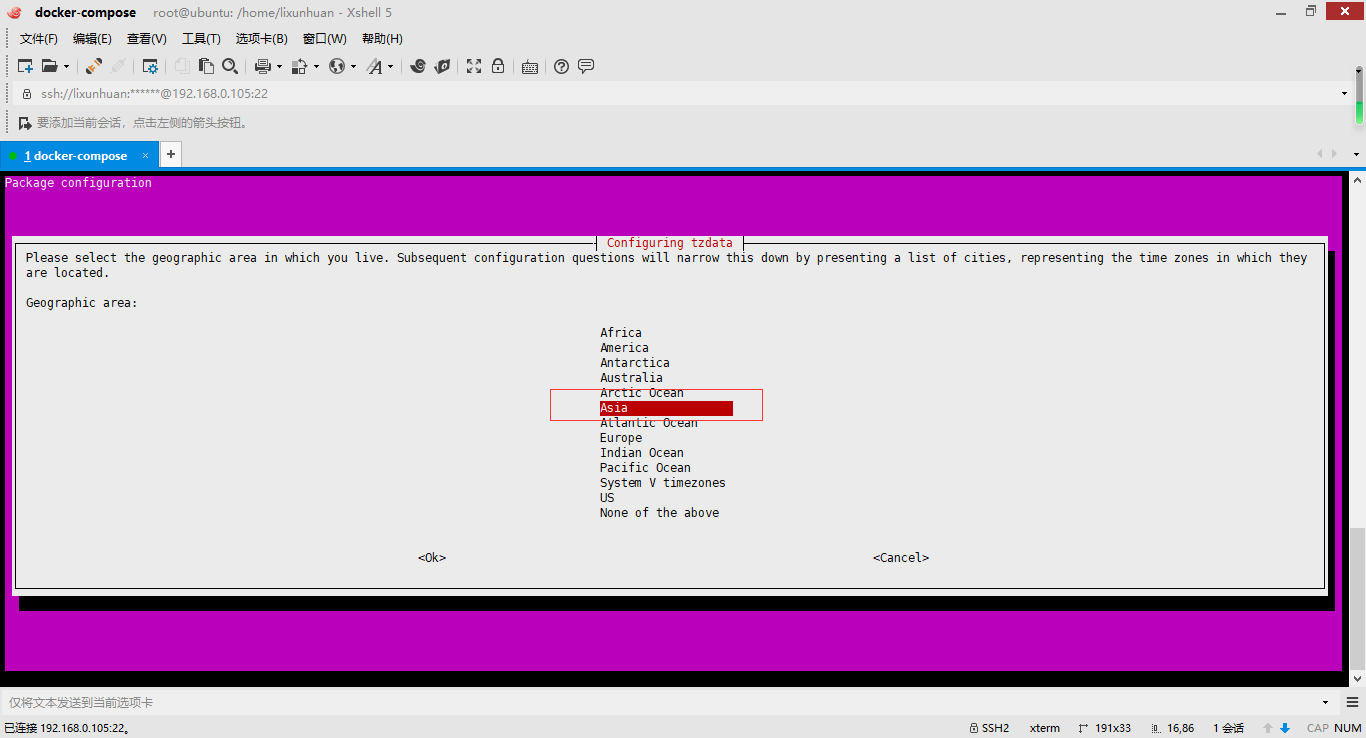

2.1 同步时间
# 安装ntpdate
apt-get install ntpdate
# 设置系统时间与网络时间同步(cn.poll.ntp.org 位于中国的公共 NTP 服务器)
ntpdate cn.pool.ntp.org
# 将系统时间写进硬件时间
hwclock --systohc
2.2 确认时间
date3.修改cloud.cfg
防止重启后主机名还原
vi /etc/cloud/cloud.cfg
# 第15行 将改配置 从false 改成true
preserve_hostname: true
4. 修改 DNS
vi /etc/systemd/resolved.conf
# 第15行
# 取消 DNS 注解,并增加 DNS 配置 如:114.114.114.114,重启计算机
DNS=114.114.114.114
5.卸载旧版本docker
- 清理资源
docker system prune --all --volumes- 卸载
apt remove docker.io6.安装新版本docker
apt install apt-transport-https ca-certificates curl gnupg2 software-properties-common

# Docker 的官方 GPG 密钥
curl -fsSL https://download.docker.com/linux/ubuntu/gpg | sudo apt-key add -

# 添加阿里云镜像源证书
curl -fsSL https://mirrors.aliyun.com/docker-ce/linux/ubuntu/gpg | sudo apt-key add -

# 添加阿里云软件仓库
add-apt-repository \
    "deb [arch=amd64] https://mirrors.aliyun.com/docker-ce/linux/ubuntu \
    $(lsb_release -cs) \
    stable"

# 安装docker
apt install -y docker-ce
非root用户使用docker免sudo命令
sudo gpasswd -a ${USER} docker配置docker镜像加速
mkdir -p /etc/docker
tee /etc/docker/daemon.json <<-'EOF'
{
  "registry-mirrors": ["https://c31ychu3.mirror.aliyuncs.com"]
}
EOF
systemctl daemon-reload
systemctl restart docker
修改docker默认的数据卷挂载路径
修改/etc/docker/damon.json文件添加data-root配置:
{
	"data-root": "/mnt/data/docker/lib"
}
7.安装docker-compose
2024年5月30号的版本
sudo curl -L "https://github.com/docker/compose/releases/download/v2.71.1/docker-compose-$(uname -s)-$(uname -m)" -o /usr/local/bin/docker-compose

sudo chmod +x /usr/local/bin/docker-compose